
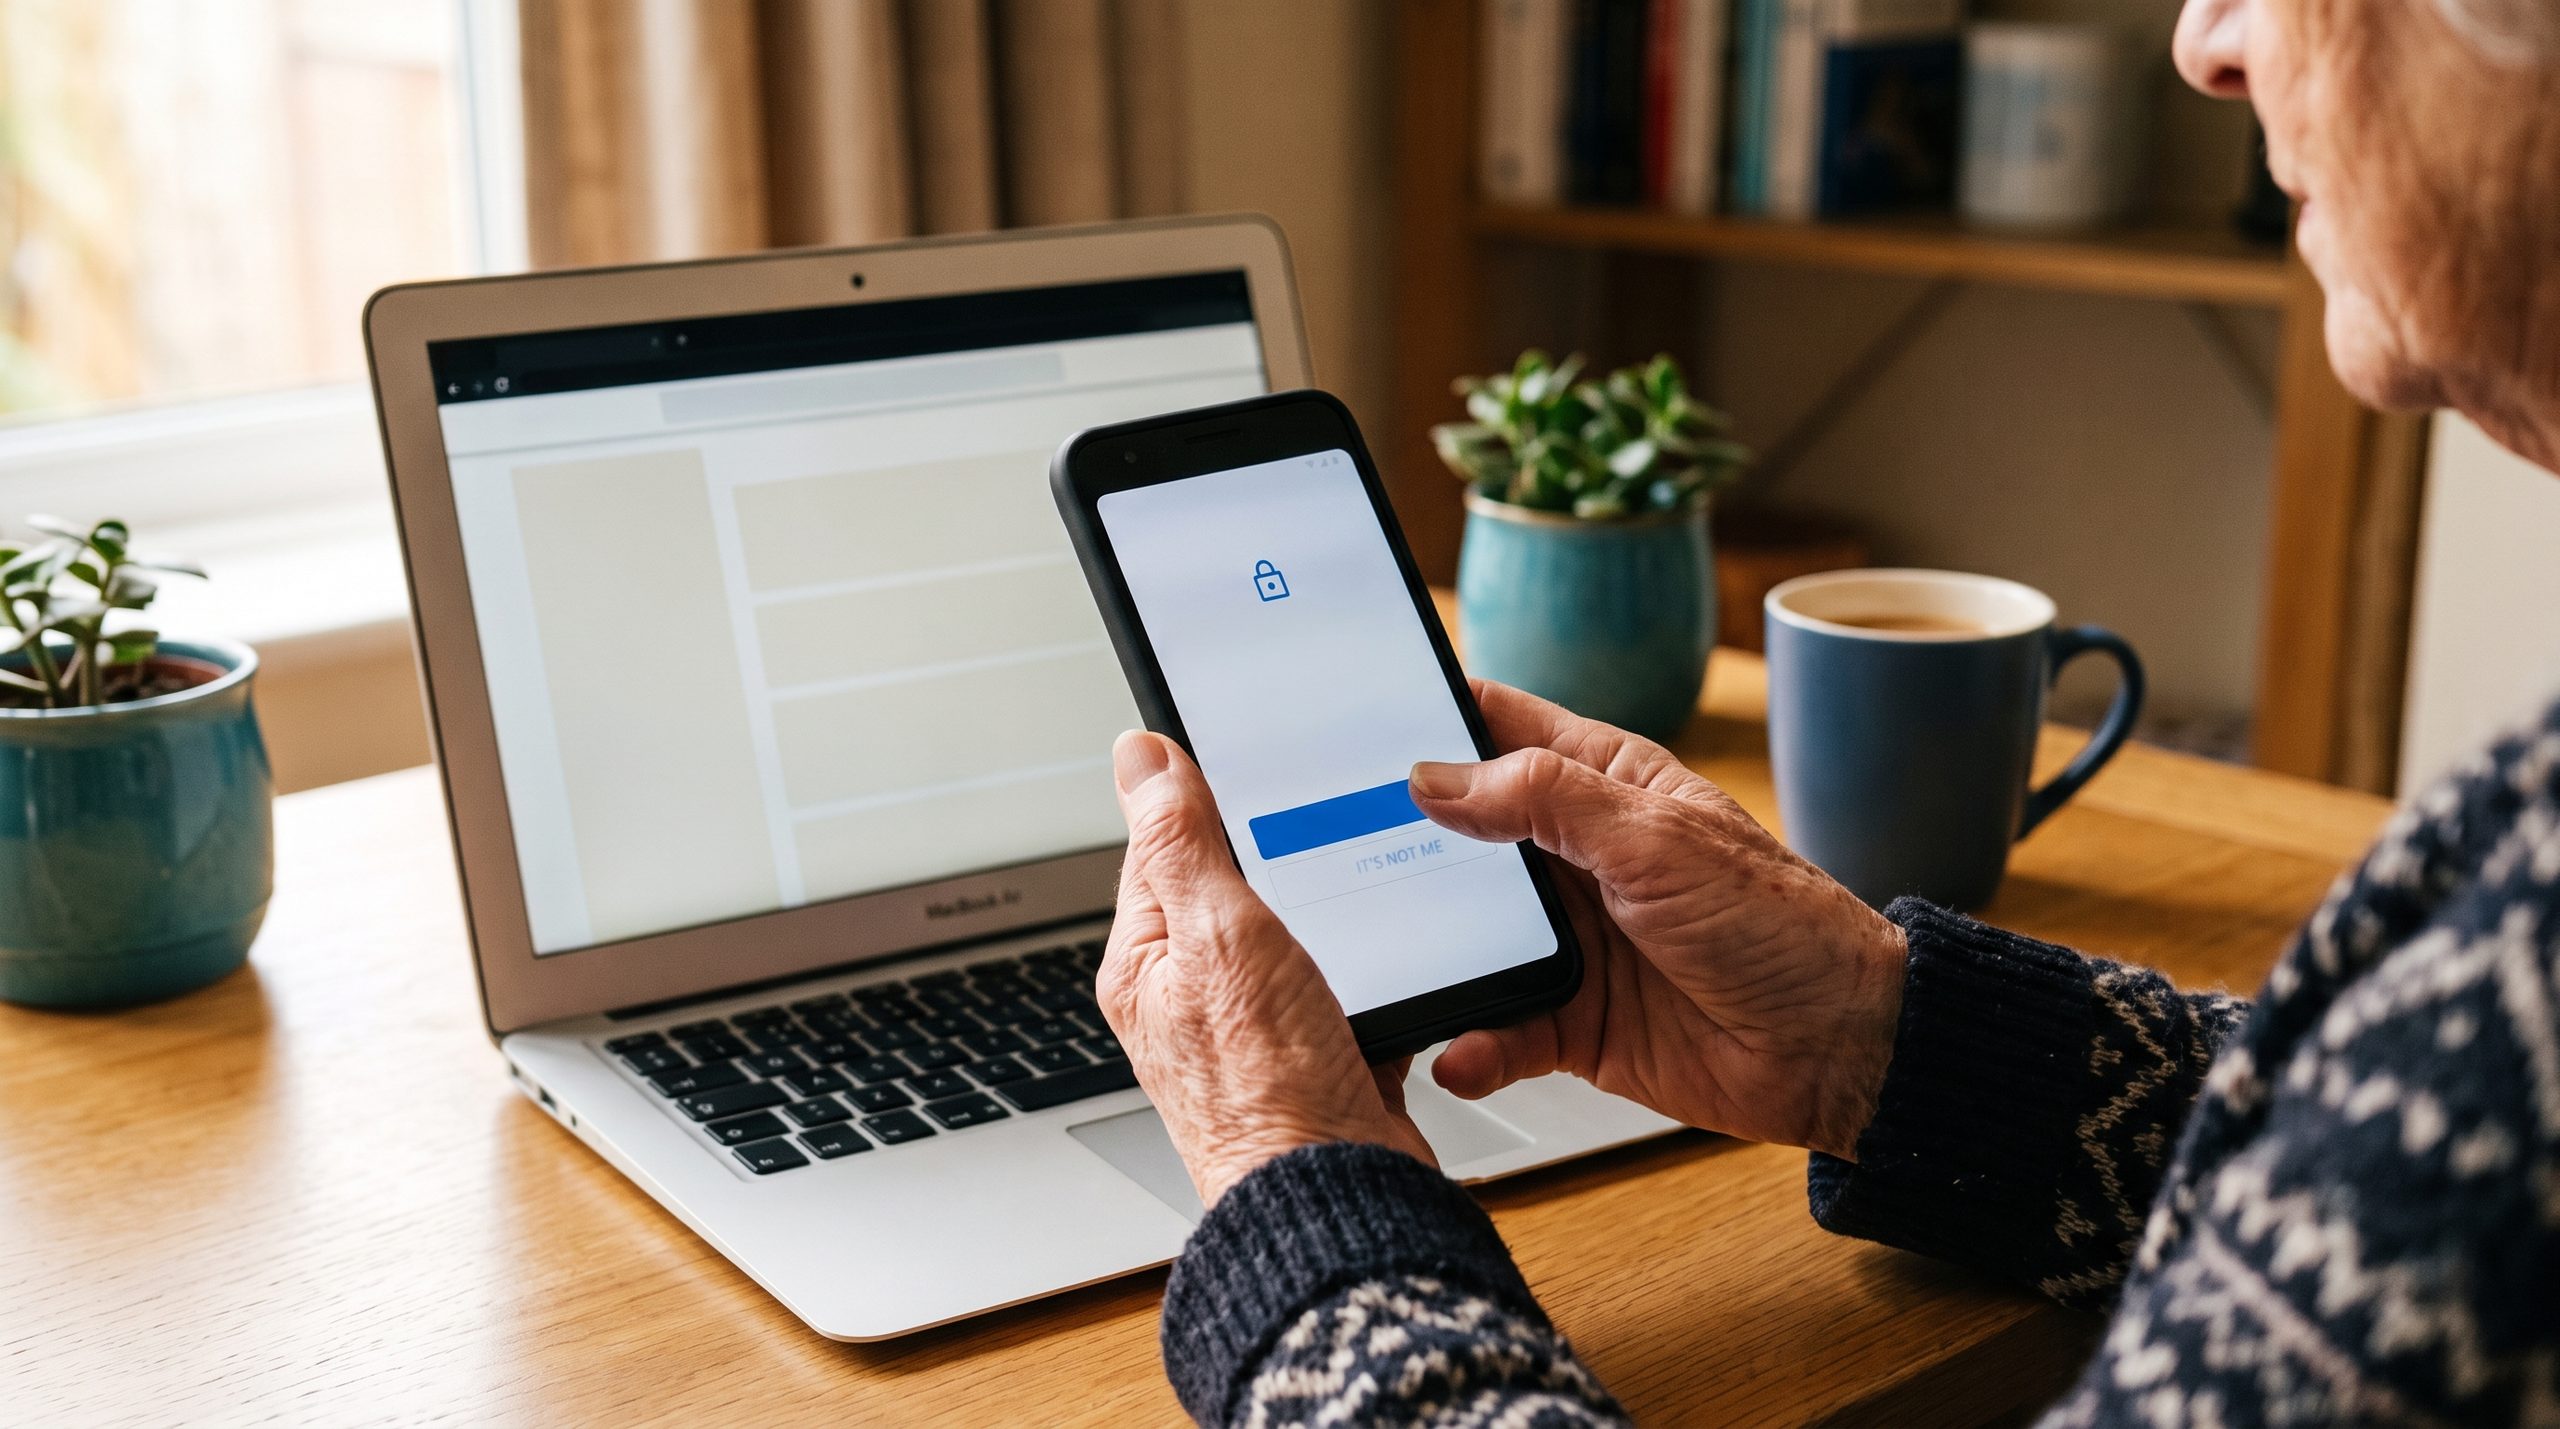
Your email account is often the key to everything else — banking, social media, and shopping accounts frequently lean on your email to verify your identity or reset a forgotten password. That makes securing your Gmail account with two-factor authentication (Google calls it “2-Step Verification”) one of the single most valuable security steps you can take. Here’s exactly how to set it up, step by step.
Before You Start
You’ll need:
- Your Gmail (Google) account password
- A smartphone, either to receive text messages or approve sign-in prompts
- About 5-10 minutes
Step-by-Step Setup
Step 1: Go to your Google Account security settings. Open a browser and head to myaccount.google.com. If you’re not already signed in, enter your email and password.
Step 2: Click “Security” in the left-hand menu. This section handles all your account’s sign-in and security options.
Step 3: Find “2-Step Verification” and select it. Under “How you sign in to Google,” you’ll see the option. Click it, then click “Get Started.”
Step 4: Re-enter your password if prompted. Google may ask you to confirm your password again as a security check before moving on.
Step 5: Choose your verification method. You’ll be offered a few options:
- Google prompt — a notification sent to your phone asking “Is this you?” that you just tap to approve. Generally the easiest method if you already have a smartphone signed into your Google account.
- Text message (SMS) code — a numeric code texted to your phone, which you type in to confirm.
- Authenticator app — a more secure option using something like Google Authenticator, generating a fresh code every 30 seconds.
- Security key — a physical device you tap or plug in, the most secure option, but not something most everyday users bother with.
For most people just getting started, the Google prompt or text message code is the simplest to set up and live with day-to-day.
Step 6: Follow the on-screen steps to confirm your chosen method. Picked text message? You’ll get a code to enter. Picked Google prompt? You’ll need to approve a test notification on your phone.
Step 7: Set up a backup method. Google typically prompts you to add a backup option — a second phone number, or backup codes you can print or write down. This step matters more than it might seem: lose access to your primary phone someday, and a backup method is what keeps you from getting locked out of your own account entirely.
Step 8: Click “Turn On” to activate 2-Step Verification. Once confirmed, it’s active on your account.
Save Your Backup Codes Somewhere Safe
During setup, Google typically hands you a set of one-time backup codes. Print them or write them down and keep them somewhere secure but accessible — not saved only digitally on the same phone you use for verification, since that defeats the whole point if your phone gets lost or stolen.
What Happens Next Time You Sign In
After setup, signing into your Gmail on a new device requires both your password and your second verification step — a tap on your phone, a text code, or your authenticator app. Devices you use regularly and trust can typically get marked as “trusted,” so you won’t get asked every single time, only for new or unrecognized sign-in attempts.
A Note on SMS vs. Other Methods
Text message codes are better than no two-factor authentication at all, but they’re considered slightly less secure than an authenticator app or security key, since texts can, in rare cases, be intercepted through a technique called SIM swapping. For most everyday users, SMS is a perfectly reasonable starting point — but switching to an authenticator app later is a worthwhile upgrade if you want something stronger.
If You Get Locked Out
Lost access to your phone and don’t have backup codes saved? Google offers an account recovery process at g.co/recover, walking you through alternative ways to verify your identity and get back in.
The Bottom Line
Setting up two-factor authentication on Gmail takes maybe five to ten minutes and adds a powerful layer of protection to what’s often the most important account you own — the one that can reset access to everything else. Saving your backup codes during setup is a small step that heads off a much bigger headache later if you ever lose your phone.
Note: This article reflects Google’s account security process as of 2026. Google’s interface and options may change over time — always follow the current on-screen instructions at myaccount.google.com.